Tuesday, January 14, 2014

A bag and a purse

After browsing a bunch of different bag and purse patterns, the first one I attempted was kind of a made-up pattern. I made a few squares using my favorite square pattern, then attached them together. I made two big squares with the little squares, then crocheted up the sides and added straps.


It turned out a little floppy, and the straps stretched out too much, but it was a good learning experience. It doesn't hold up well to heavy items, but I've used it a few times to hold crochet projects.

I made Madelyn a little owl purse a long time ago, which she uses almost every week to put her offering in to  bring to Sabbath school. She was requesting one with a longer strap that could fit over her head "so it wouldn't fall off her shoulder." After looking through some different kid patterns, I found this pattern and decided to give it a try. Turned out super cute, and Madelyn was happy with it.


Audrey wanted to model it, too.

I altered the pattern a little bit, changing up the wings and making eyes from black yarn instead of using buttons. 


Now she just has to find some things to put in it, she's been wearing it around a lot with it empty :)

Monday, January 13, 2014

One of the coolest things I've ever made--a purse!!

My sister had mentioned wanting a shoulder bag for my next crochet project, so I got right on that! I used this pattern which is a highly repeated pattern on ravelry.com. I pinned it a long time ago wanting to give it a try, but hadn't yet since the sewing part of the pattern just didn't appeal to me. But after purchasing some purse straps from Joann's I decided to go for it, and it turned out not being too bad. I used this tutorial to figure out how to sew in the lining. It turned out so cute, I had a hard time giving it away :)


I made a lining using some really stiff interfacing so that it would hold up a little better. Each side on the inside of the purse has a few pockets sewn into them. I filled up the purse with some purse contents when I gave it to my sister. 


Madelyn wanted to model the purse, and of course Audrey wanted to get in on the picture, too.


Christmas mugs

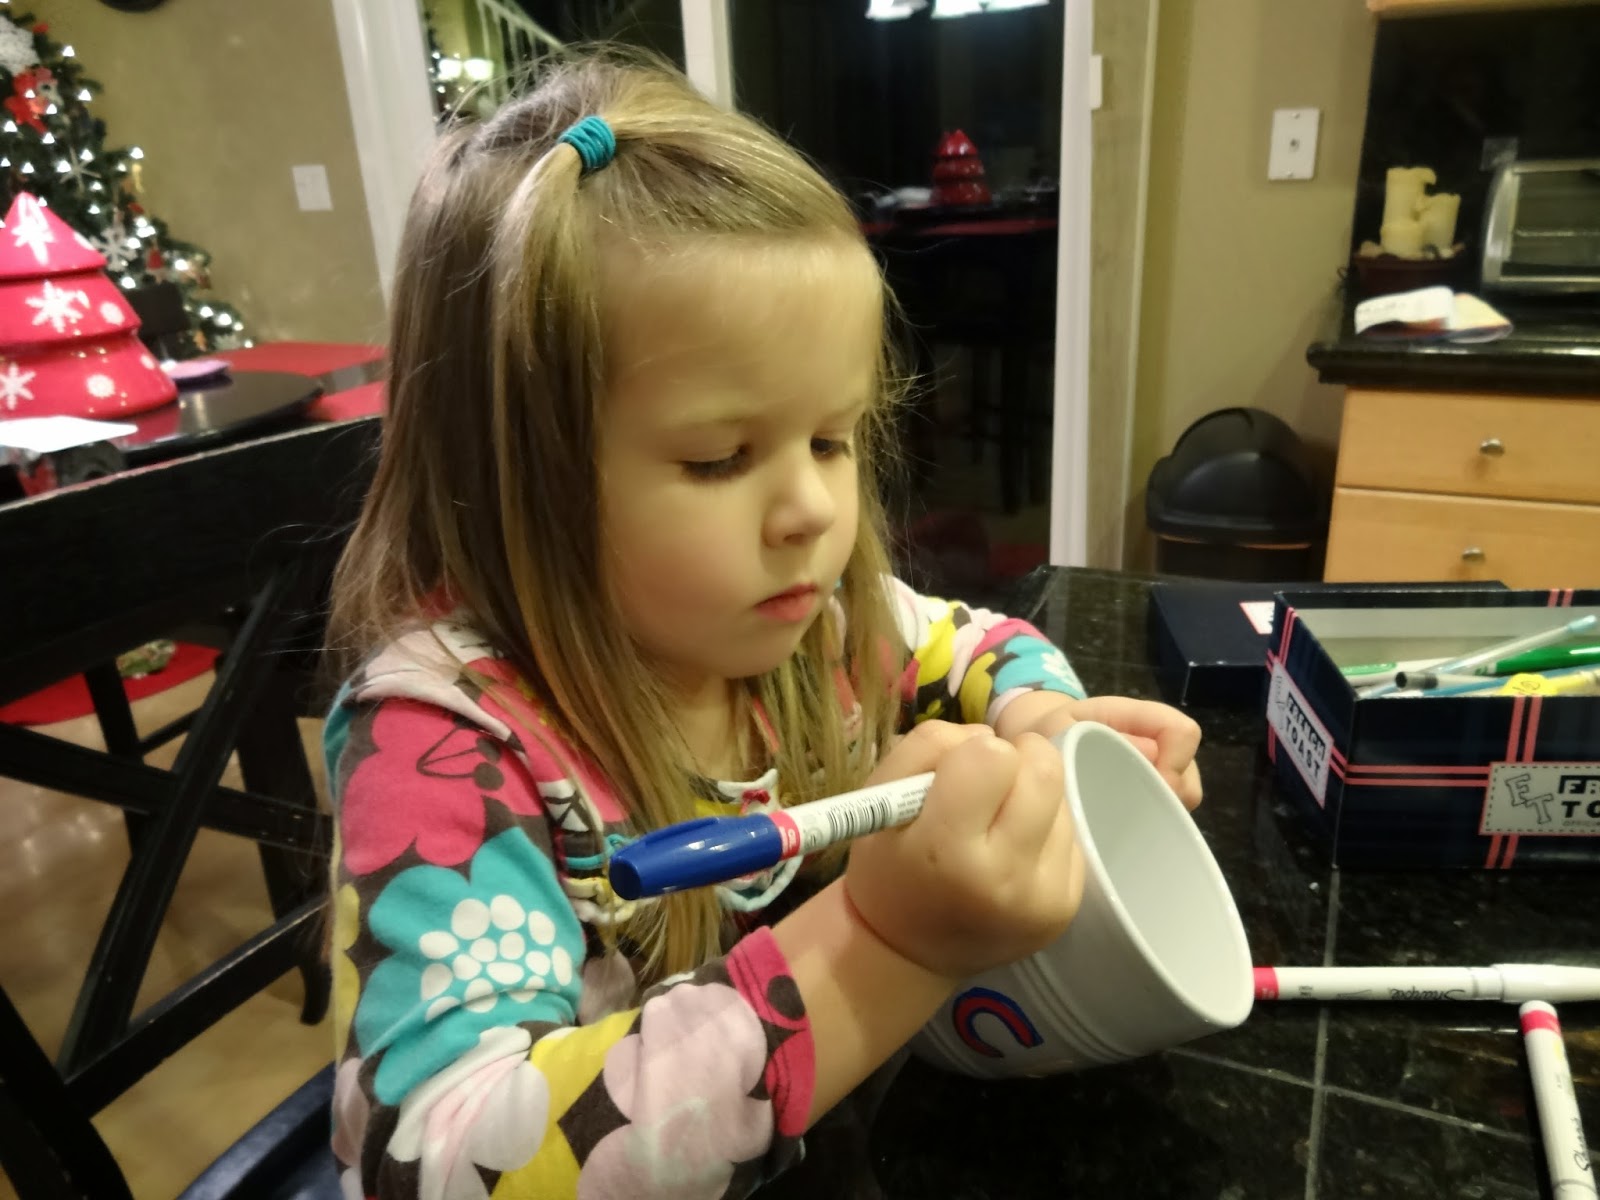
The sharpie mug idea has been all over pinterest, and I thought it looked like a fun one to try for family gifts this year. I bought some white mugs from Big Lots and used some oil-based sharpies I already had, and used some letter stickers to write out names on each mug. I let Madelyn draw all over the mugs and trace around the letters, then took off the stickers. A quick bake in the oven, and they came out awesome!!


This is the one I made.


The colors turned out a little different after baking, which was weird. Blue turned to green, red turned to maroon, and yellow turned to mustard. We've used the ones we made (made a "mama" one and a "daddy" one) and ran them through the dishwasher a few times, and they seem to be holding up great.

When I gave them as gifts, I filled them with some drinks--tea packets, apple cider, and hot chocolate--then added some Mexican hot chocolate snickerdoodles and some mocha cookies (Get it? Hot chocolate and coffee cookies inside the mug? I thought that was pretty clever). Turned out pretty cute I thought :)


Gifts for my nephew

I'm now an aunt!! My sister-in-law had a little boy in mid-December. Since I know she appreciates my crochet gifts, I went a little crazy and made her a bunch of different things. 

I of course had to make a cozy baby blanket. I used the "Ruffles and Dots" pattern, which I have used before. 


I also had to make a couple little hats to keep his head warm and snuggly. 


This red and white striped hat was made by special request. My sister-in-law wanted to do some newborn photos with a hat with a long tail to wrap over his little bottom. Of course I would make her one!! The photos they took turned out beautifully. 


My sister-in-law and brother-in-law have an ongoing inside joke about squirrels, something to do with a nickname I think? :) So of course I had to make their little guy a squirrel. I purchased this pattern from this etsy store. Turned out as pretty much the cutest thing I've ever made.


A couple afghan gifts

Afghans are so much fun to make. You get to pick out the pattern, decide on the yarn colors... However, I've made a few too many for myself. Although I would really like to make us another one. I think we might have enough, I don't know, maybe we could use one more? :)

These two afghans I made were for gifts, and both were a lot of fun to make.

The first one was a new shape for me, called the "Around the Rosie" baby blanket. I was inspired by this post from my favorite crochet blogger, maybematilda.com. Instead of making it in a baby blanket size, I upped the hook size and used worsted weight yarn, which made it a much bigger afghan. I made this one for my mom for Christmas. 


The second afghan was called "Sunny Spread", which is one of my favorite patterns, and which I've also used a couple more times since this blanket. It was also featured on my favorite crochet blog on this post. 

I made this one for my sister-in-law. It was a fun color to work with. She requested a bright colored afghan, so bright is what I picked!! I chose to use a shell border, however, instead of what the pattern called for. 


Wow, look how little Audrey is! This was from earlier this year. 

Okay, now, who else wants an afghan!!

Monday, April 29, 2013

The granny square squared

This afghan pattern I found and started quite awhile ago, but just recently resurrected and finished. I got a bunch of leftover yarn from my mom in varying shades of green and wanted to find a good use for it. I found this pattern, what I call a granny square squared. When I first started the pattern and got a little ways into it, it started getting kind of wonky shaped. I got kind of frustrated and gave up. After reading and discovering what blocking can do to a crochet piece, I decided to start it up again, and I'm glad I did.


The colors really did come out cool. I almost had enough yarn to finish the whole thing, I had to buy one more skein of the lightest color to finish off the edging, but that was it.

 OOooooohhhhh..... mesmerizing!!! 

I used my favorite edging, the scallop edge, to go around the entire blanket. 


It ended up being pretty big, and after washing it with fabric softener, all the misshaped-ness evened out. It also made the yarn super soft, which was a nice bonus.  


I gave this blanket to mother-in-law. I surprised her with it this last weekend. She had seen me working on it a long time ago and had commented on how much she liked the colors. She is conveniently using green colors in her living room, so all-in-all a perfect match :) 

I love spreading cheer through crochet goodness :)

Hey guys!! I made a sweater!!

Since it's no longer hat season, I spent some time trying to look up other crochet items that you can wear. 

Old man sweater? 
Nope. 

Skirt? 
MMmmm, might be cool, but kind of saggy I would think. 

How about a cardigan?
That could work!!

So I scoured Ravelry and found a few open type sweaters (didn't want to create a shapeless sack, and I don't really like sweaters to begin with). My husband laughed when I told him what I was going to make, he didn't think it would turn out, but I proved him wrong!!

I finally decided on this pattern after reading and looking at the 1,924 project posts that different people had created. I figured if that many people made and liked the pattern, it should probably be a good one :)

I made my sister one first, in white, to give to her for her birthday.


It turned out so good!! Even my husband was impressed. It's made as one piece, instead of making panels and sewing them together like some clothing articles are made. You crochet the yoke/collar, then split it when it gets to the length you want your arm holes to start. Then you skip some stitches, and go back and forth for the body. 


The pattern has a bunch of different size option, varying the amount of stitches to start out, or the hook and yarn size. I had some trouble on the front edge trim, ended up crocheting one double crochet per stitch instead of two, which worked out better for my tight stitches. 


Once I finished it, I blocked it by getting it wet and then laying it flat to dry. I haven't blocked anything before, but it made a huge difference in this pattern. Blocking helped all the stitches to lie flat and make the edges not curl up. 


After making my sister one, I of course wanted to make one for me :) One of the downsides of this pattern is that it calls for DK weight yarn, which is really hard to find at craft stores these days. All the cool colors are in worsted weight. The lighter weight is usually only baby colored yarns, and I'm not really a pastel colors person, so it's somewhat limiting finding different colors. The white was easy to find, but I wanted a colored one for me. After checking out Joann's selection, I went to Michael's to see what they had. I found this bright pink color that I really liked, so I made myself one in pink.


I actually didn't get a chance to block this one, you can see how the front edges are curled up a little bit. I wanted to wear it to church and didn't have time to block it. It should look a little better after blocking.